
Here is something nobody tells you when you buy your first grow light: the wattage number on the box means almost nothing. It took me three dead trays of basil seedlings and one very underwhelming lettuce crop to figure that out. Grow lights are genuinely useful tools for small-space food gardeners, but the marketing around them is noisy, the specs are confusing, and most beginner guides skip straight to product recommendations without explaining how light actually works for plants.
So let's fix that. Four rules. No jargon you have to Google afterward.
Rule One: Forget Watts, Pay Attention to PPFD
Read also
PPFD stands for Photosynthetic Photon Flux Density. That sounds intimidating, but all it means is how much usable light is actually hitting your plants per second. Wattage tells you how much electricity a light draws. PPFD tells you how much plant-feeding light reaches the canopy. Those are two very different things.
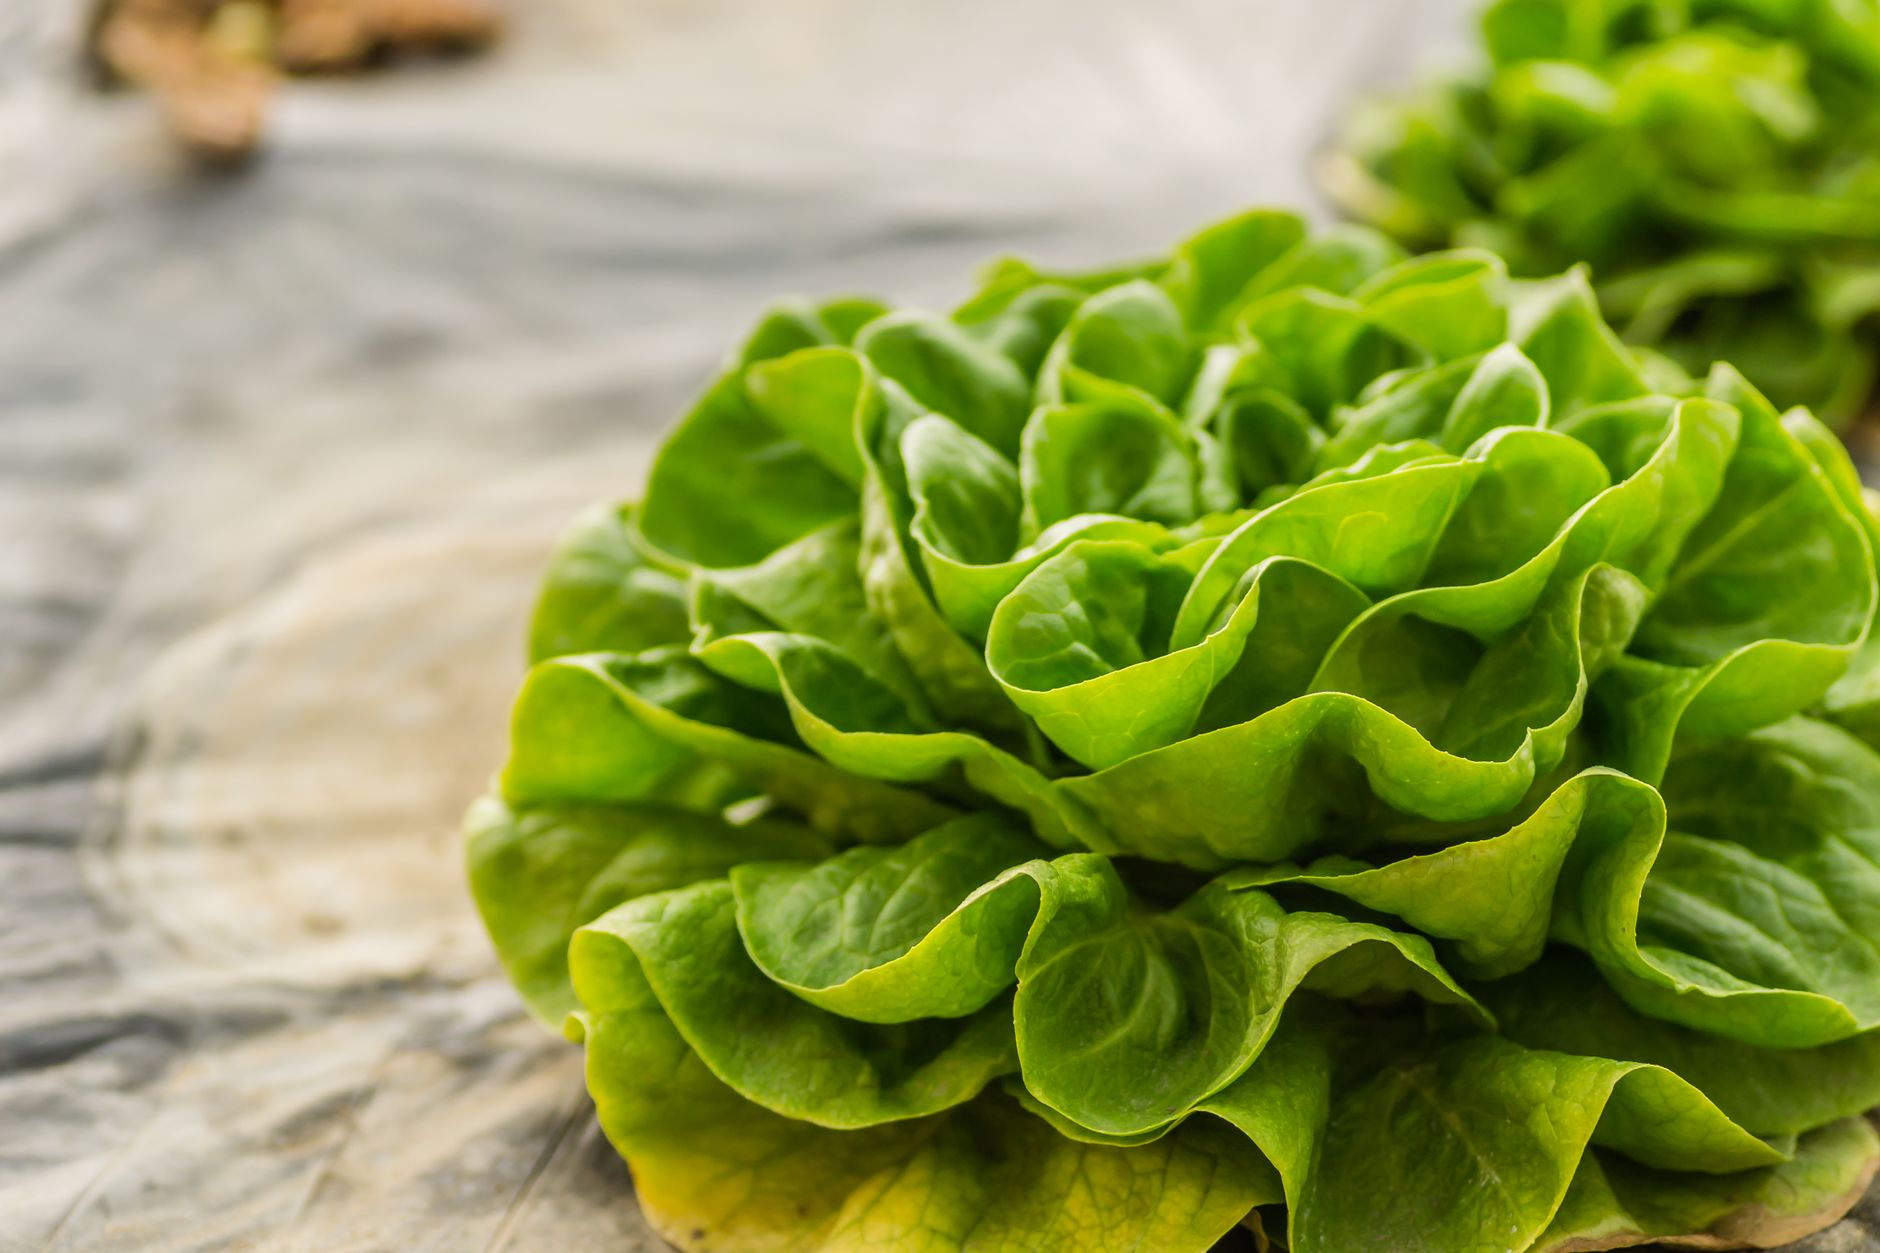
For leafy greens like lettuce, spinach, and herbs, you want a PPFD of around 150 to 250 at the leaf surface. For fruiting crops like tomatoes, peppers, or cucumbers grown indoors, you need 400 to 600 or higher. Most quality LED panels sold today include a PPFD chart right in the product listing. If a light does not show you that number, skip it.

Rule Two: Distance Matters More Than Anything Else
You can have a solid light and still starve your plants of photons just by hanging it too high. Or you can scorch tender seedlings by getting it too close. Light intensity drops dramatically as distance increases. Move a light twice as far from your plants and the intensity at leaf level drops to roughly one quarter of what it was. That is not a typo.
A basic starting point: for seedlings and leafy greens, hang your LED panel 12 to 18 inches above the canopy. For fruiting plants that need more intensity, closer to 8 to 12 inches is usually right, depending on the fixture. Always check the manufacturer's recommended hanging height and treat it as a starting point rather than a final answer. Then watch your plants.
Pale, stretching seedlings that lean toward the light are telling you the fixture is too far away. Bleached or curled leaf tips usually mean it is too close. Plants are direct about this stuff once you know what to look for.
Pro Tip
Pro Tip: Invest in an adjustable-height ratchet hanger for your grow light rather than fixed hooks. They cost about five dollars, and they let you lower the light as seedlings are small and raise it as plants grow without any fuss. It is the cheapest upgrade that actually changes your results.
Rule Three: Duration Is a Formula, Not a Guess
Plants do not just need light. They need the right amount of light followed by actual darkness. Running your grow light 24 hours a day does not give you faster growth. For most vegetables, it causes stress, disrupts natural hormonal cycles, and leads to weaker plants over time.
The standard breakdown for food crops is simple. Leafy greens and herbs do well on 14 to 16 hours of light per day. Fruiting crops like tomatoes and peppers want 16 to 18 hours. Start there, get yourself a basic plug-in outlet timer so you are not manually switching the light on and off, and you will avoid most of the duration mistakes beginners make.
One thing worth knowing: if you are starting seeds under grow lights before transplanting outdoors, keep the light period closer to what the outdoor day length will be when they go out. Dramatic shifts in light hours can shock transplants.
Rule Four: Choose the Right Light for What You Are Actually Growing
Not every indoor food garden needs the same type of fixture. Matching the light to the crop saves you money and avoids unnecessary heat and electricity costs.
For a kitchen herb shelf or a small lettuce setup on a countertop, a simple T5 fluorescent strip or a low-wattage LED bar light works well and runs cool. These are inexpensive, easy to find, and more than sufficient for low-light crops. If you are running a more ambitious indoor setup with multiple shelves of greens, a full-spectrum LED panel in the 45 to 65 watt range will cover more area more efficiently. For anyone trying to grow tomatoes or peppers entirely indoors through winter, you need a serious high-output LED fixture, and you should expect a higher electricity bill to match.
Full-spectrum LED is the standard recommendation now for good reason. It runs cooler than older HID or HPS systems, uses less electricity, and modern panels have solid PPFD output at an accessible price. Bar-style quantum board LEDs have become especially popular for home setups in the last few years and are worth looking at if you want to grow beyond herbs and lettuce.
A Quick Word on Setup That Most Articles Skip
Reflective surfaces make a real difference in a small indoor growing space. If your grow area has dark walls or sits in an open room, you are losing a meaningful percentage of your light output to the surroundings. Something as simple as white foam board panels placed behind and beside your growing area will bounce light back toward your plants. It is not fancy and it costs almost nothing.
Also, keep your light fixture clean. Dust accumulates on LED panels over time and reduces output. A quick wipe with a dry cloth every few weeks takes thirty seconds and makes a noticeable difference over a full growing season.
Growing food indoors under lights is genuinely rewarding. Fresh lettuce in January, herbs that do not die the moment temperatures drop, seedlings started weeks before the outdoor season opens. None of that requires expensive equipment or a dedicated room. It requires understanding four basic things: what the light numbers actually mean, how distance shapes intensity, how long plants need light and dark, and which fixture fits the crop you are growing. Get those four things right and the rest takes care of itself.


