
My neighbor Sarah grew fresh lettuce in January while I was ordering expensive greens from the grocery store. Her secret wasn't a heated greenhouse or fancy equipment. She'd built a simple cold frame from scrap wood and an old window in less than six hours.
Cold frames are basically solar-powered mini greenhouses that trap heat during the day and release it slowly at night. They can extend your growing season by 6-8 weeks on both ends, meaning you can start spring crops earlier and keep fall crops producing well into winter.
What You'll Need to Build Your Cold Frame
Read also
The beauty of cold frame construction lies in its simplicity. You need four walls, a slanted top, and something transparent to let light in. Most builders use whatever materials they have lying around.
For the frame, you'll need four boards to create a rectangular box. Cedar works best because it resists rot, but any untreated wood will do. The back wall should be 12-16 inches tall, while the front wall needs to be 8-10 inches. This creates the essential slant that sheds water and maximizes sun exposure.
The top requires something transparent. Old windows work beautifully, but you can also use polycarbonate panels or even clear plexiglass. Whatever you choose needs to be sturdy enough to handle wind and snow.
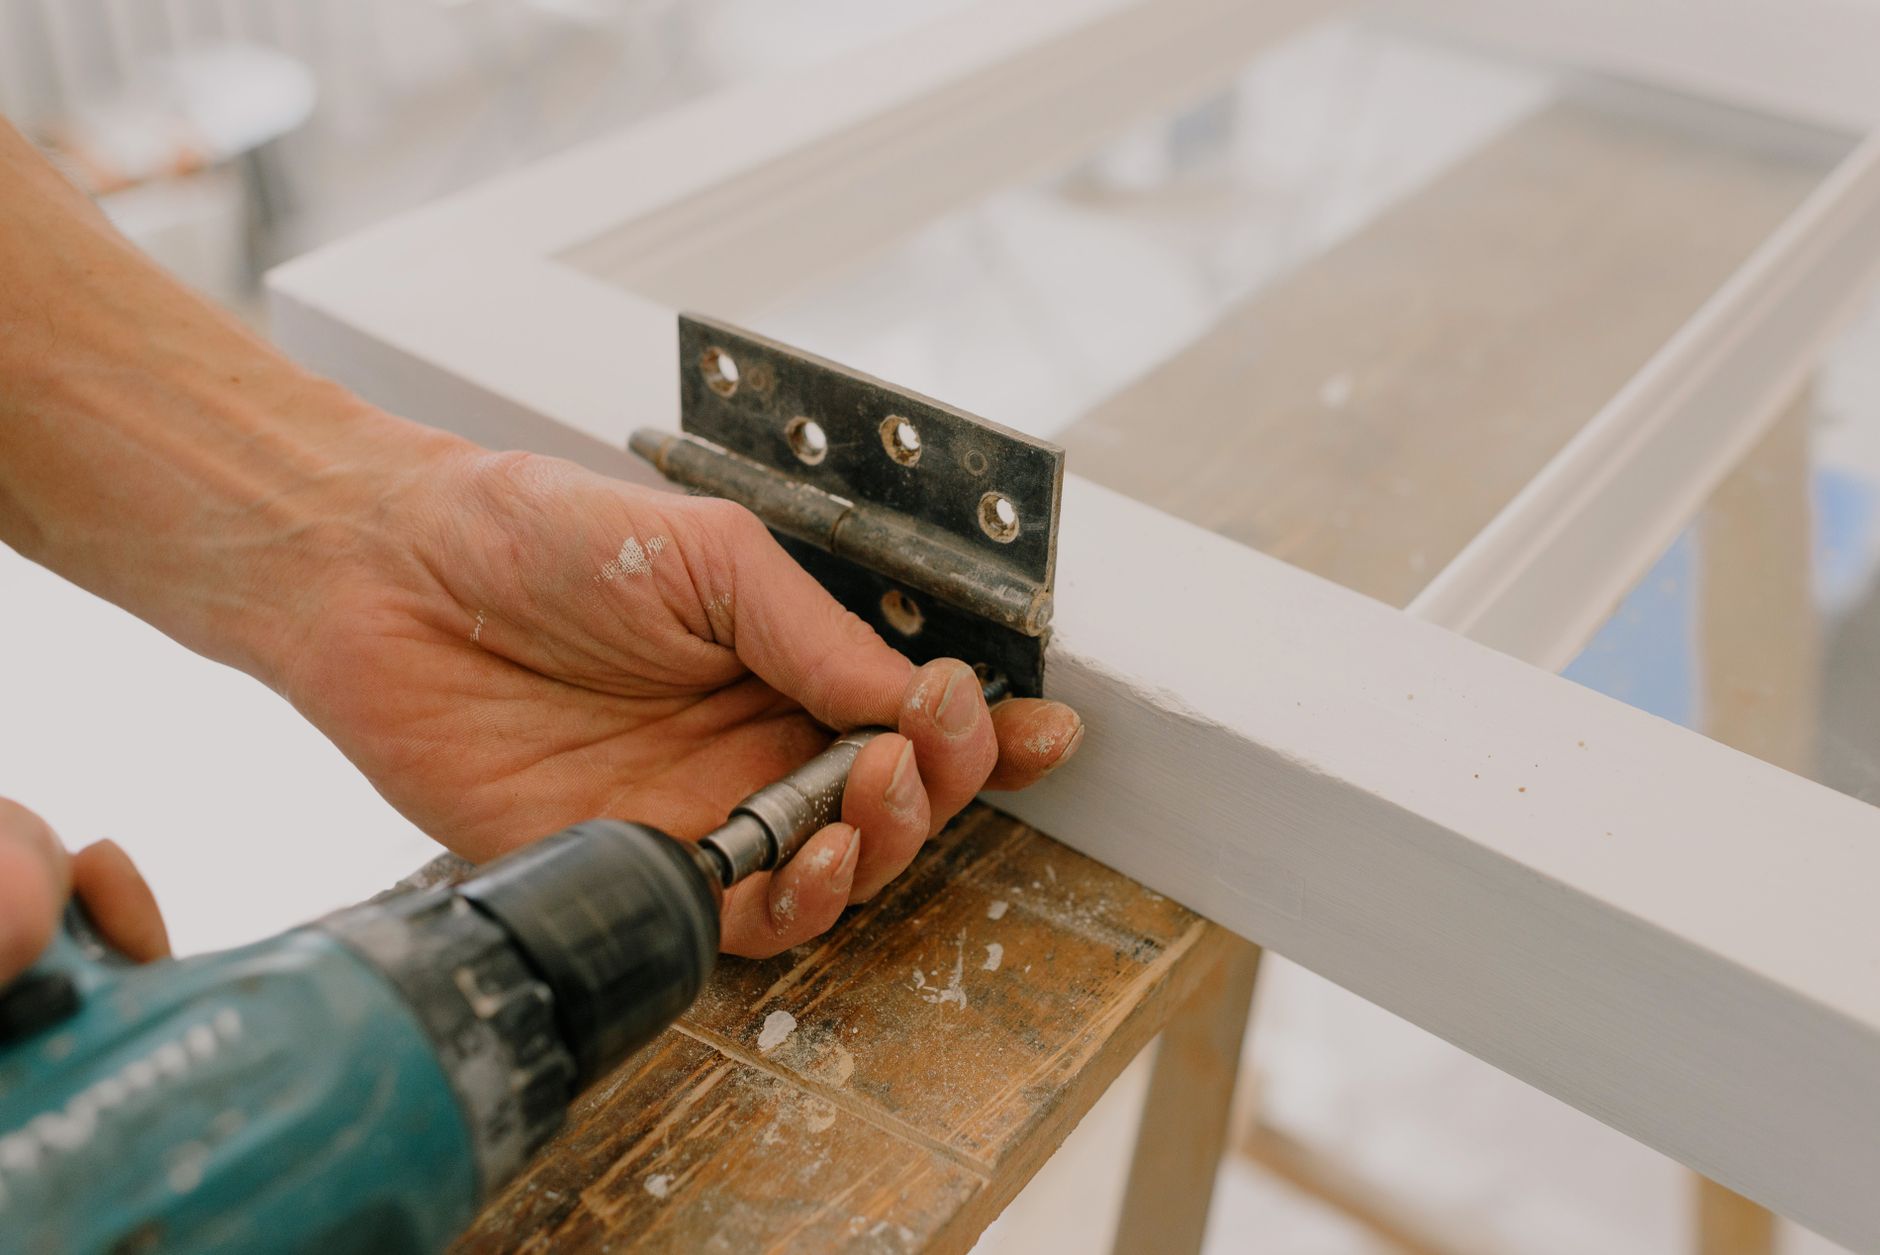
You'll also need hinges to attach the top, a stick or automatic vent opener to prop it open on warm days, and some basic hardware like screws or nails.
Step-by-Step Assembly
Start by cutting your side pieces. These connect the front and back walls, so they need angled cuts to accommodate the slant. If your back wall is 14 inches and your front is 8 inches, the difference is 6 inches. Divide this by the depth of your frame to find the angle.
For a 3-foot deep frame with a 6-inch height difference, you'll cut the side pieces at about a 11-degree angle.
Pro Tip
Pro tip: Don't stress about exact angles. Cold frames are forgiving, and a rough approximation works fine. Focus on making the structure sturdy rather than geometrically exact.
Assemble the box using exterior screws or galvanized nails. Corner brackets add strength if you're working with thin boards. The frame doesn't need to be watertight, but it should feel solid when you shake it.
Attach your transparent top using hinges mounted on the back wall. This allows the lid to open toward the back, making it easy to tend your plants. Install a chain or stick system to hold the lid open at various angles.
Positioning for Maximum Effectiveness
Location determines whether your cold frame succeeds or disappoints. You need a spot that gets at least 6 hours of direct sunlight, preferably facing south or southeast. Morning sun is especially important for warming the space after cold nights.
Avoid low-lying areas where cold air settles. A slight slope helps with drainage and air circulation. If possible, position your cold frame near a building or fence that blocks harsh north winds.
The frame should sit level on the ground or be partially buried for better insulation. Some gardeners sink their cold frames 4-6 inches into the soil, which helps maintain steady temperatures.
Managing Temperature and Ventilation
Cold frames can overheat surprisingly fast on sunny days, even in winter. Internal temperatures can reach 80-90°F when it's only 40°F outside. This rapid heating kills plants faster than cold does.
Start opening the lid when internal temperatures hit 50-55°F. On mild days, you might need to open it completely. Automatic vent openers take the guesswork out of this process, but a simple stick propping system works too.
Close the frame before temperatures drop in late afternoon. The goal is to trap warm air inside before the sun sets.
What to Grow and When
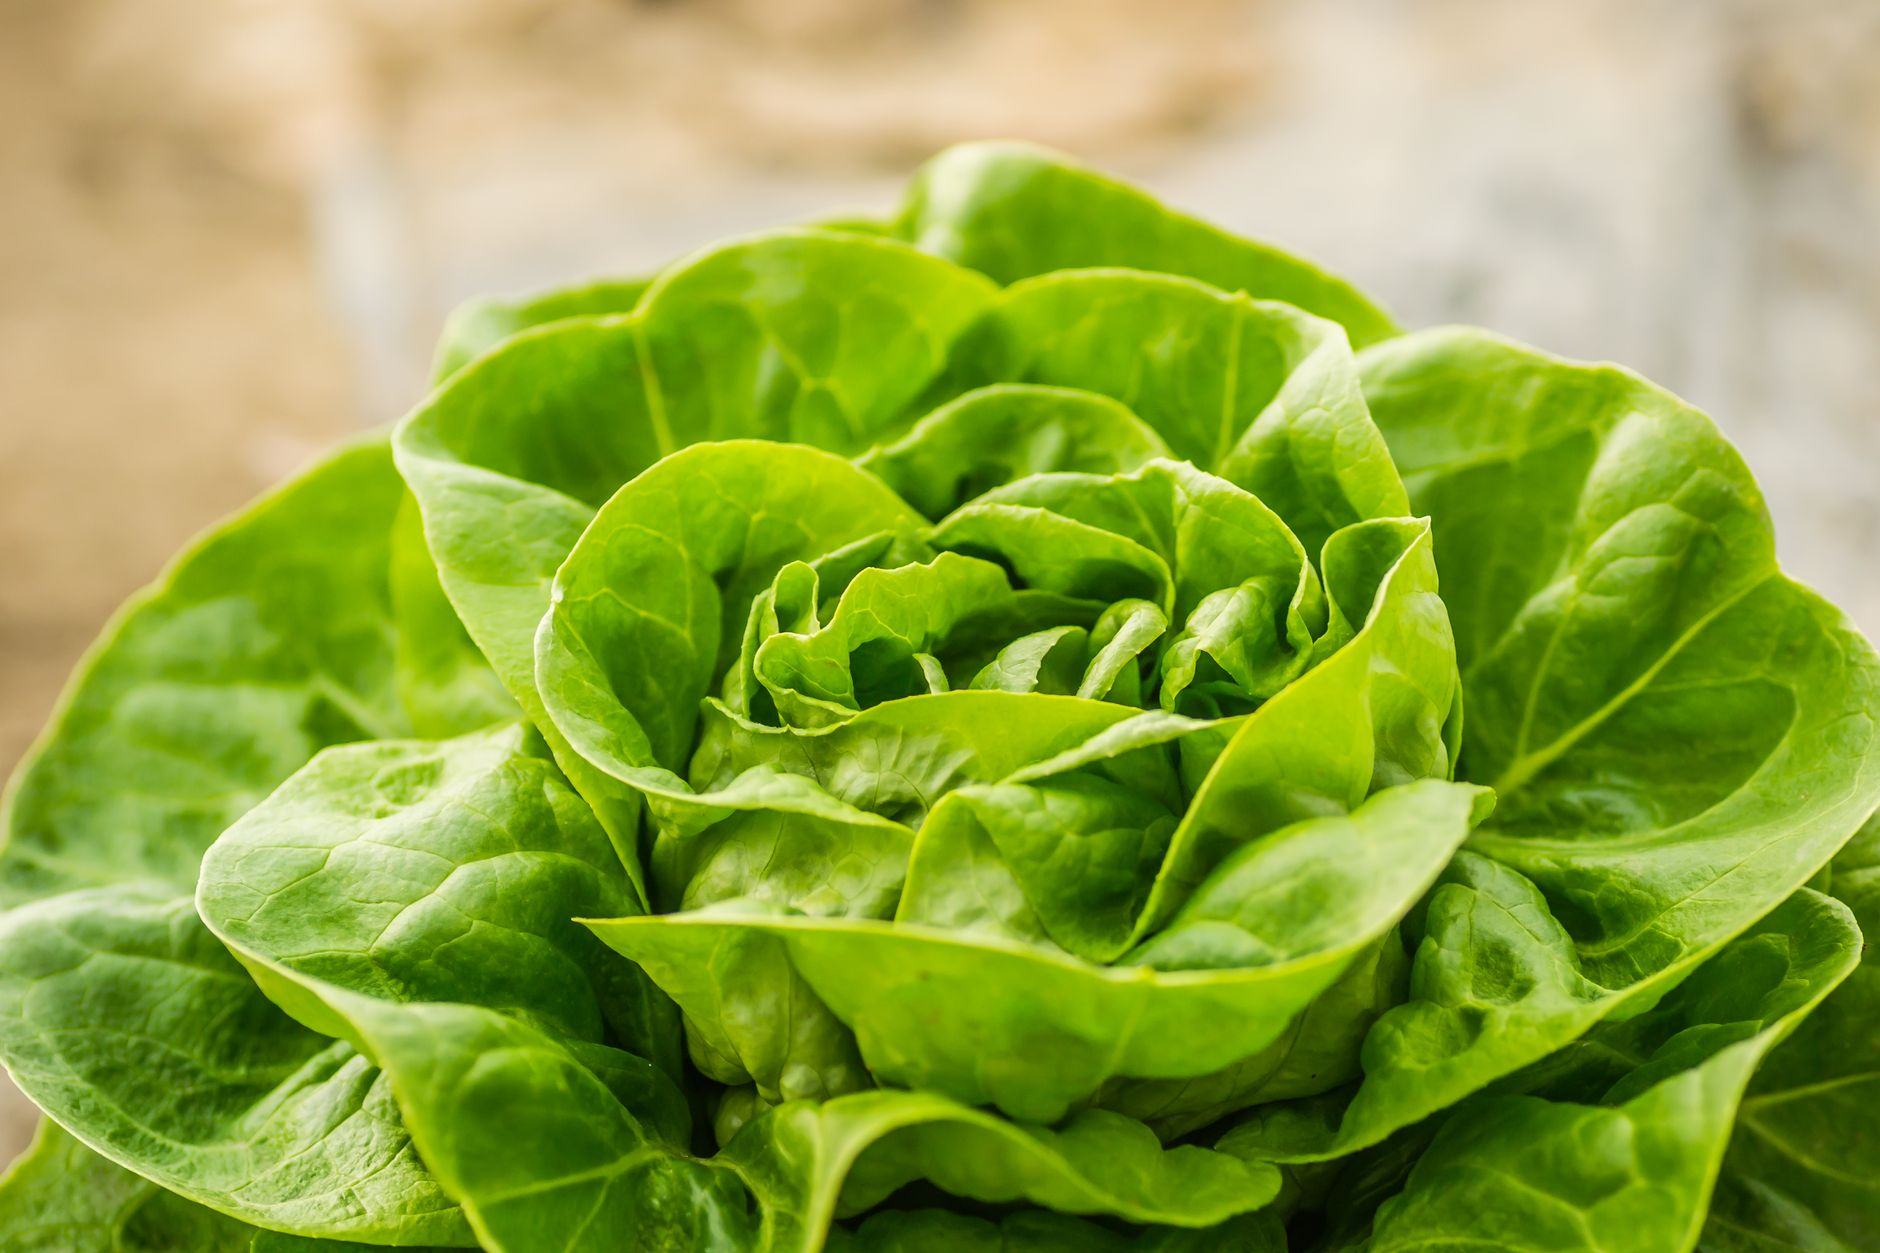
Cold frames excel with cool-season crops like lettuce, spinach, arugula, and radishes. These plants actually prefer the moderate temperatures inside a cold frame to the heat of summer gardens.
Plant seeds directly in the soil inside your frame, or use it to protect transplants. In fall, plant 6-8 weeks before your first frost date. The plants will grow slowly but steadily through winter, giving you fresh greens when everything else has died back.
Spring plantings can start 4-6 weeks earlier than outdoor gardens. The protected environment lets you get a head start on warm-season crops like tomatoes and peppers before moving them to larger spaces.
Once you see how much a simple cold frame extends your harvest window, you'll wonder why you waited so long to build one. Sarah's January lettuce convinced me, and now I've got fresh greens growing in February.

